

How to Replace a Track Light Bulb: A Step-by-Step Guide
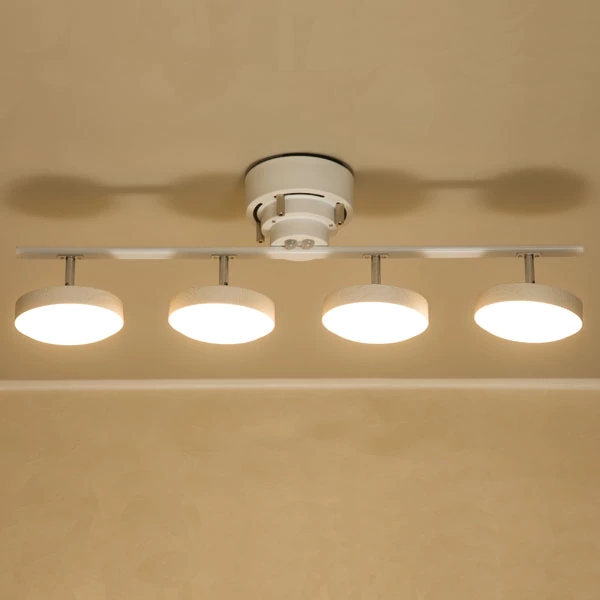
Track lighting is a popular choice for many homeowners due to its versatility and modern appeal. However, like any other type of lighting, track lights require regular maintenance, including replacing light bulbs when they burn out. In this article, we will guide you through the process of replacing a track light bulb, ensuring that you can continue to enjoy a well-lit and stylish space in your home.
1. Understanding Track Light Bulbs
Before you start the replacement process, it's important to understand the type of light bulbs used in track lighting systems. Most track lights use either halogen or LED bulbs. Halogen bulbs are the traditional choice, providing bright and warm light, while LED bulbs are more energy-efficient and have a longer lifespan. Make sure to check your track light fixture to determine which type of bulb it requires.
2. Gathering the Necessary Tools
Before you begin replacing the track light bulb, gather the necessary tools to ensure a smooth and safe process. You will need a step ladder or a stable platform to reach the track light, a pair of gloves to protect your hands, and a new bulb of the appropriate type and wattage. Additionally, consider having a soft cloth or tissue on hand to handle the bulb, as oils from your skin can reduce its lifespan.
3. Turning Off the Power
Safety should always be a top priority when working with electrical components. To replace a track light bulb safely, start by turning off the power to the track lighting system. Locate the circuit breaker that controls the track lights and switch it off. This step will prevent any accidental electrical shocks while you are working on the fixture.
4. Allowing the Bulb to Cool
Track light bulbs can become hot after being in use for a while. Before attempting to replace a burnt-out bulb, allow it to cool down completely. This step will prevent any accidental burns or damage to the fixture. It's advisable to wait at least 10-15 minutes to ensure the bulb has cooled down sufficiently.
5. Removing the Old Bulb
Once the bulb has cooled down, you can proceed to remove it from the track light fixture. Depending on the design of your track light, you may need to twist the bulb counterclockwise or gently pull it straight out. Be cautious and avoid using excessive force, as this can damage the fixture or bulb. If the bulb is difficult to remove, try using a cloth or tissue to improve your grip.
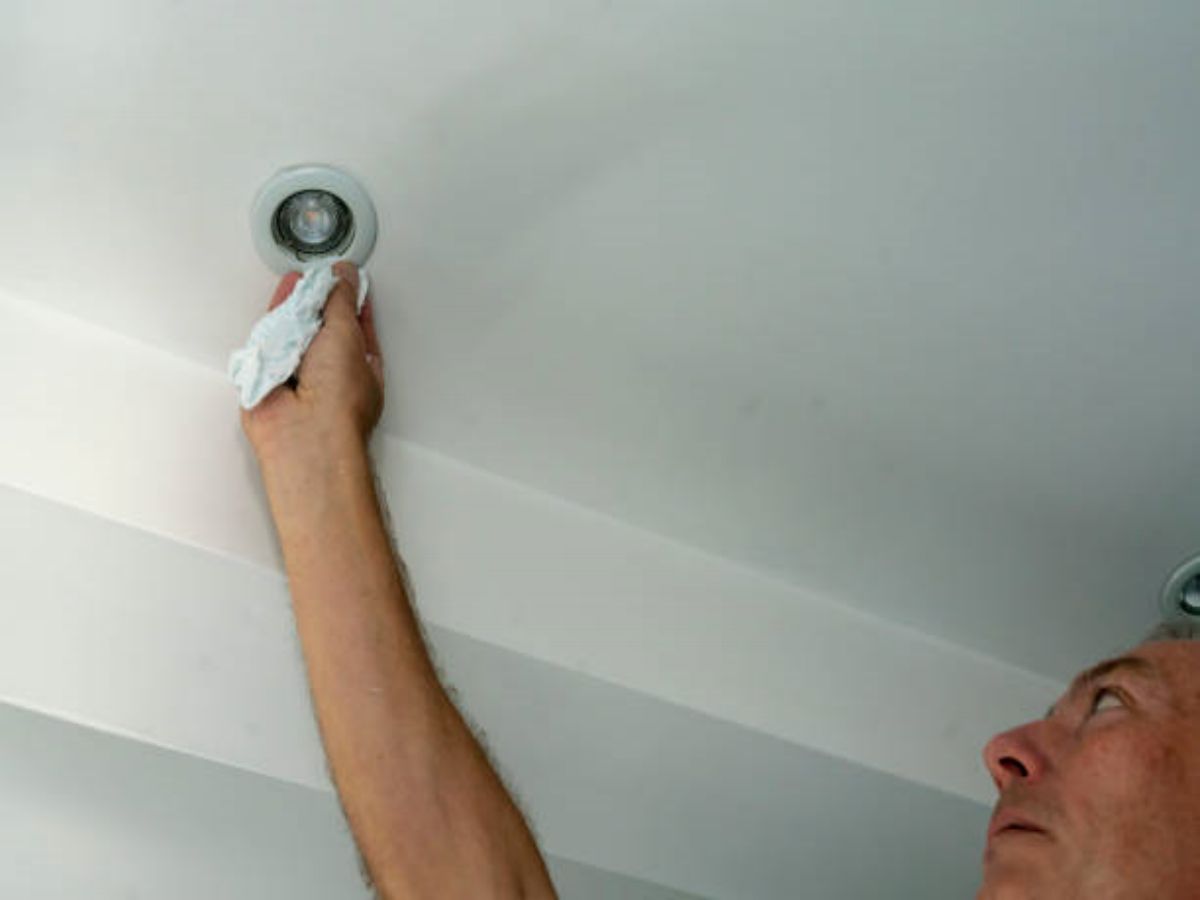
6. Cleaning the Track Light Fixture
While you have the opportunity, take a moment to clean the track light fixture. Dust and dirt can accumulate over time, reducing the effectiveness of the lighting and creating a less appealing aesthetic. Use a soft cloth or a duster to gently clean the fixture, being careful not to damage any components or wiring.
7. Inserting the New Bulb
With the old bulb removed and the fixture cleaned, it's time to insert the new track light bulb. Align the pins or base of the new bulb with the corresponding slots or sockets in the fixture. Gently push the bulb in and twist it clockwise until it locks into place. Ensure that the bulb is securely seated to prevent any flickering or loose connections.
8. Restoring Power and Testing the New Bulb
After successfully installing the new track light bulb, it's time to restore power to the fixture. Return to the circuit breaker panel and switch on the circuit that controls the track lights. Once the power is restored, test the new bulb by turning on the track lighting system. Verify that the bulb illuminates properly and emits the desired amount of light.
9. Troubleshooting Common Issues
If the new bulb does not light up or if there are any issues with the track lighting system, there are a few troubleshooting steps you can take. First, double-check that the bulb is securely installed. If it still doesn't work, try replacing the bulb with another one to rule out any defects. If the problem persists, consult the track light's manufacturer or seek assistance from a qualified electrician.
10. Maintaining Your Track Lighting System
Now that you have successfully replaced the track light bulb, it's important to maintain your track lighting system to ensure optimal performance and longevity. Regularly clean the fixtures, inspect the wiring for any signs of damage, and replace bulbs as soon as they burn out. By following these maintenance practices, you can enjoy a well-lit and stylish space in your home for years to come.