


Choosing the Right Ceiling Light
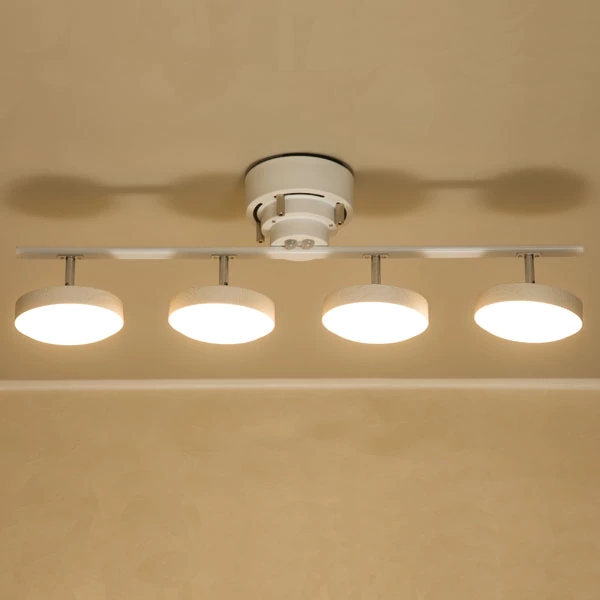
When it comes to installing a new ceiling light, the first step is to choose the right fixture for your space. Consider the size of the room, the height of the ceiling, and the overall aesthetic you want to achieve. Whether you opt for a flush mount, semi-flush mount, chandelier, or pendant light, make sure the style and size complement the room's decor.
Gathering the Necessary Tools
Before you begin the installation process, it's important to gather all the necessary tools and materials. You will likely need a drill, screwdriver, wire stripper, wire nuts, and a ladder. Make sure you have everything on hand before starting to avoid any unnecessary delays.
Turning Off the Power
Safety should always be your top priority when installing a ceiling light. Before you begin, be sure to turn off the power to the existing light fixture at the circuit breaker. Use a voltage tester to double-check that the power is off before you start working on the wiring.
Removing the Old Fixture
If you are replacing an existing ceiling light, you will need to remove the old fixture before installing the new one. Start by removing the screws or fasteners that hold the fixture to the ceiling. Carefully disconnect the wires and remove the old fixture, being mindful of any excess debris.
Installing the Mounting Bracket
Once the old fixture is removed, you can begin installing the mounting bracket for the new ceiling light. Follow the manufacturer's instructions to securely attach the bracket to the ceiling, ensuring it is level and stable. This bracket will serve as the foundation for your new fixture.